Step 1.
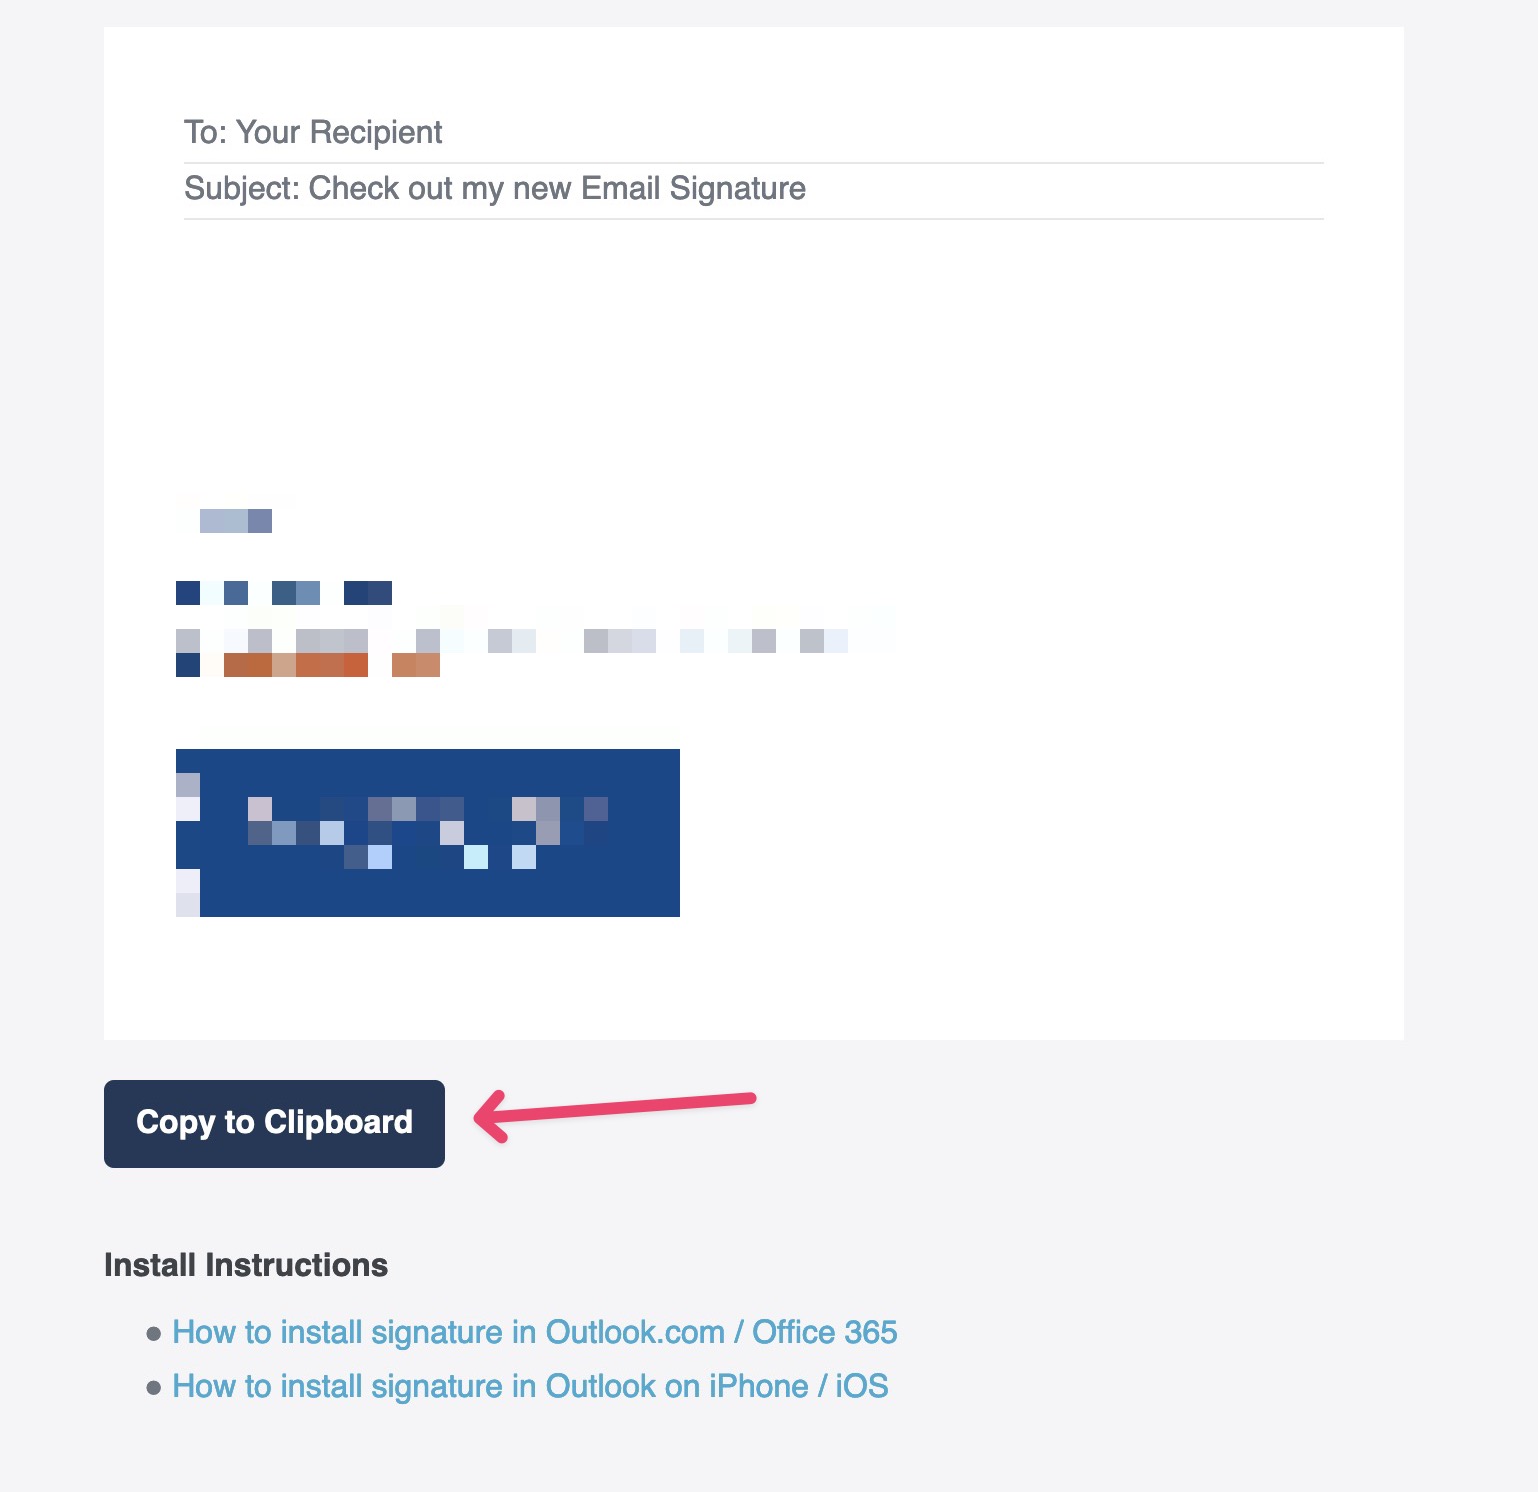
Open the signature sent to you in a browser than click the Copy to clipboard button.
Step 2.
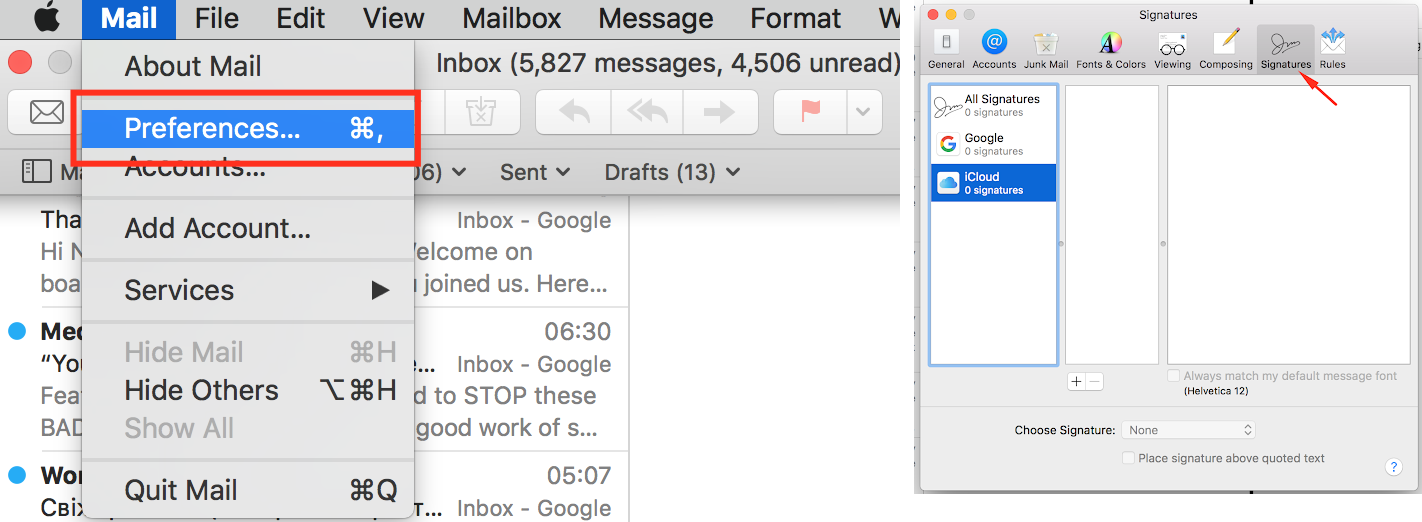
Open the Mail app on your computer and go to Mail App signature Preferences by going to Mail > Preferences > Signatures.
Step 4.
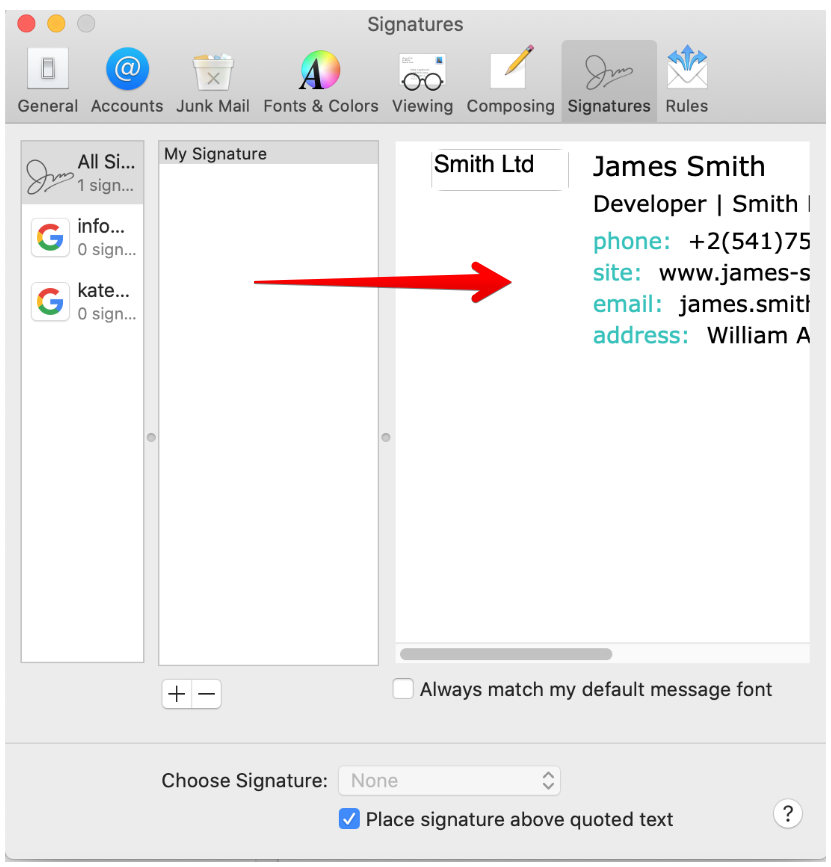
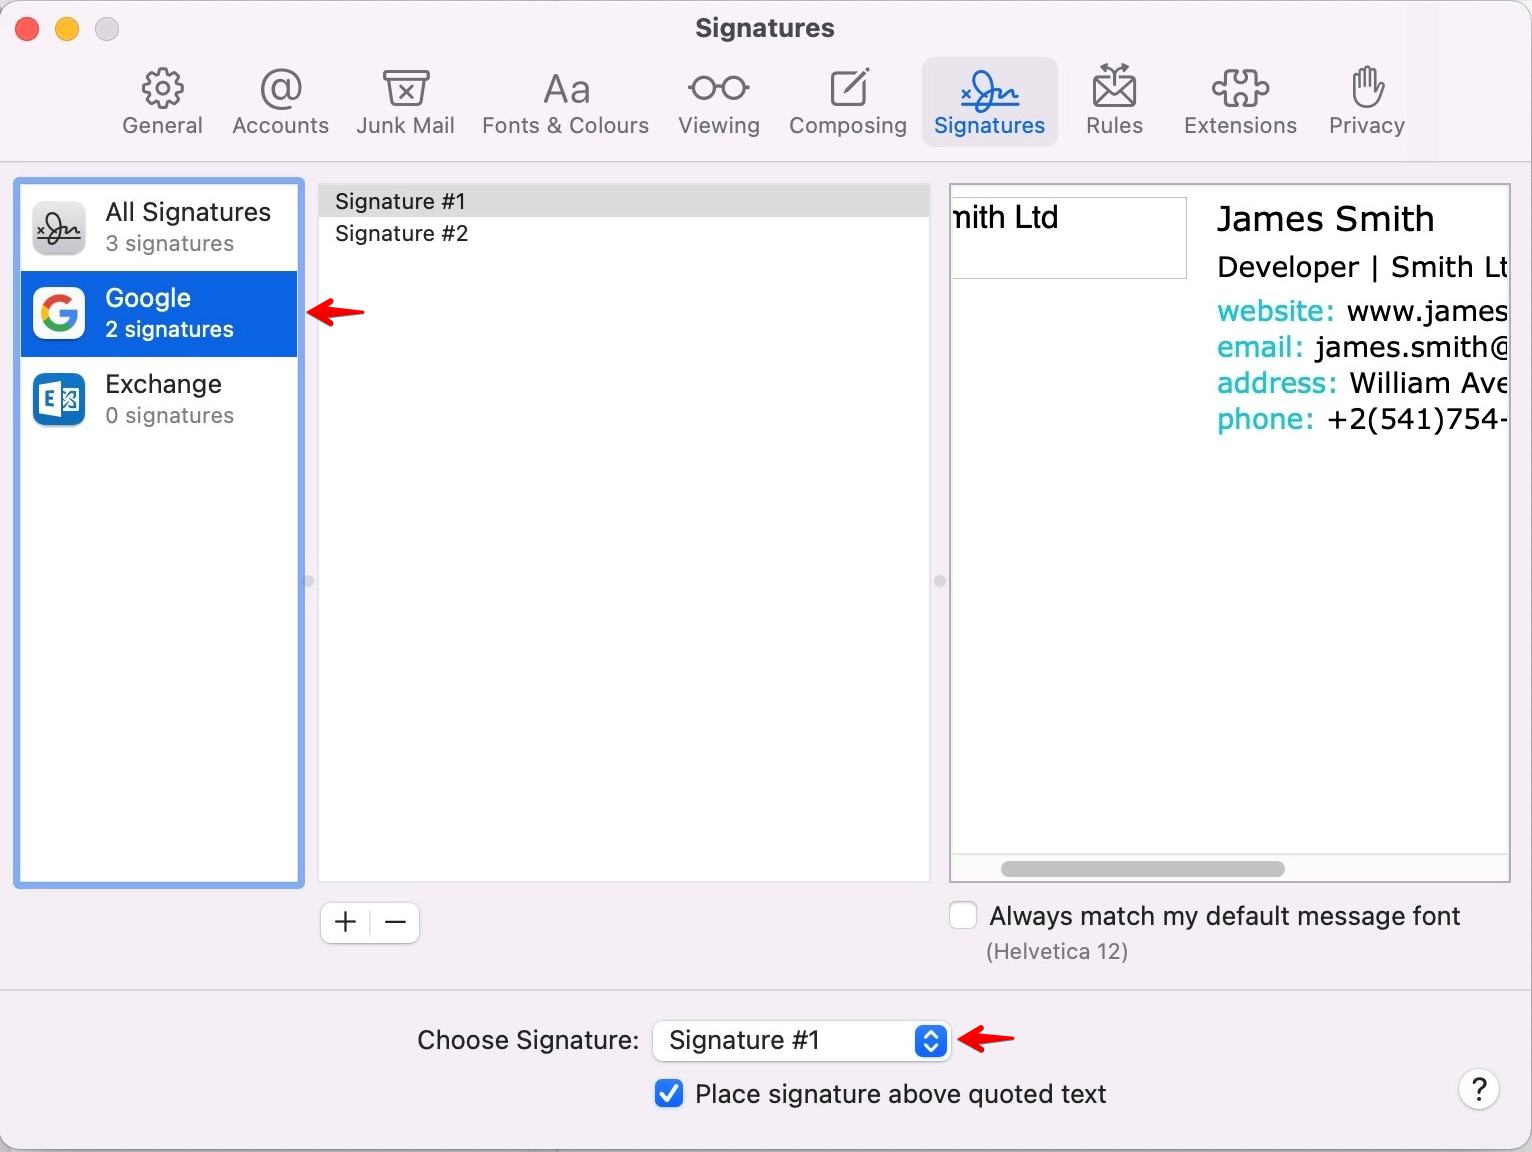
Choose which email account you want to use the signature for and click + button to add a new signature and give it a name.
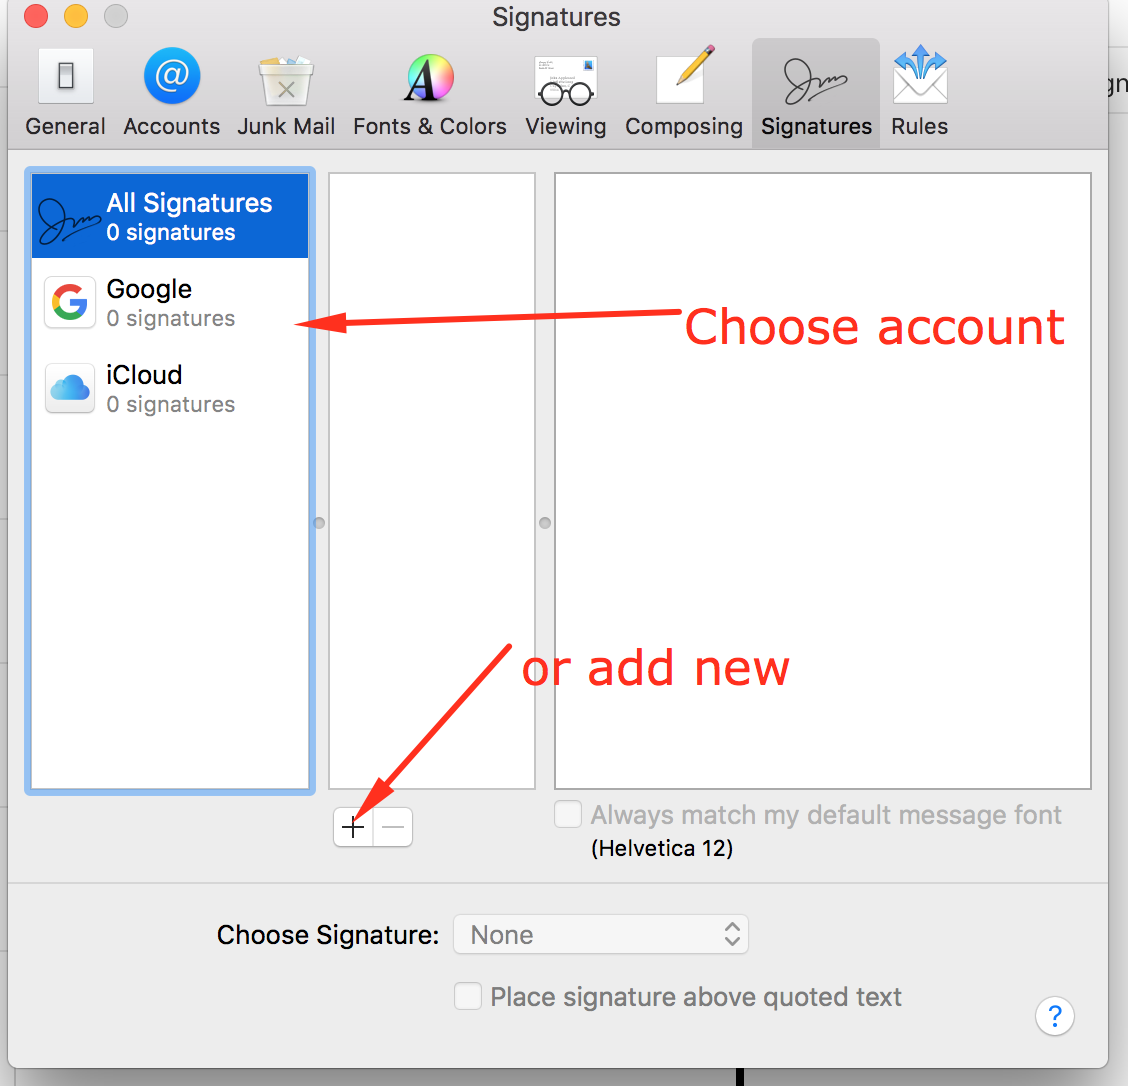
Note: If you created your signature without choosing an account, just drag and drop your signature to the appropriate account.
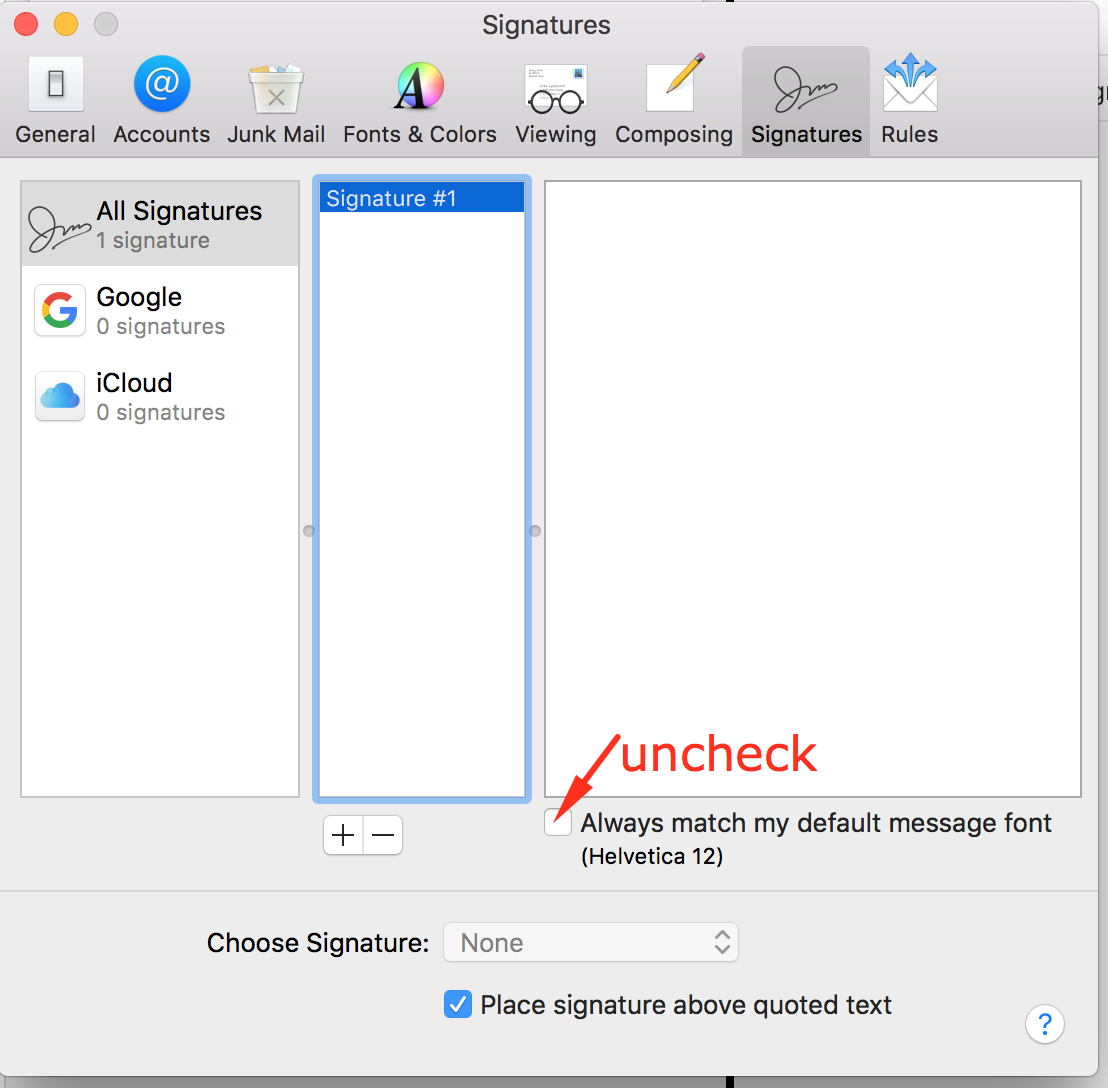
Step 5.
Next, uncheck the “Always match my default message font” box.

Step 6.
Paste the signature into the signature box (keyboard shortcut CMD + V).
Step 7.
Next, set up the default email signature for the email account.
Step 8.
Close the signature settings window regardless of how the signature looks on the Preview, as sometimes it may look disrupted, then Compose a new email to see your new email signature in action.
Important note: If you’ve saved your signature and it’s not formatting correctly in the email, double-check the following settings:
The “Always match my default message font” setting should not be selected.
Please check this in your mail settings and paste in your signature only after it’s been unchecked.
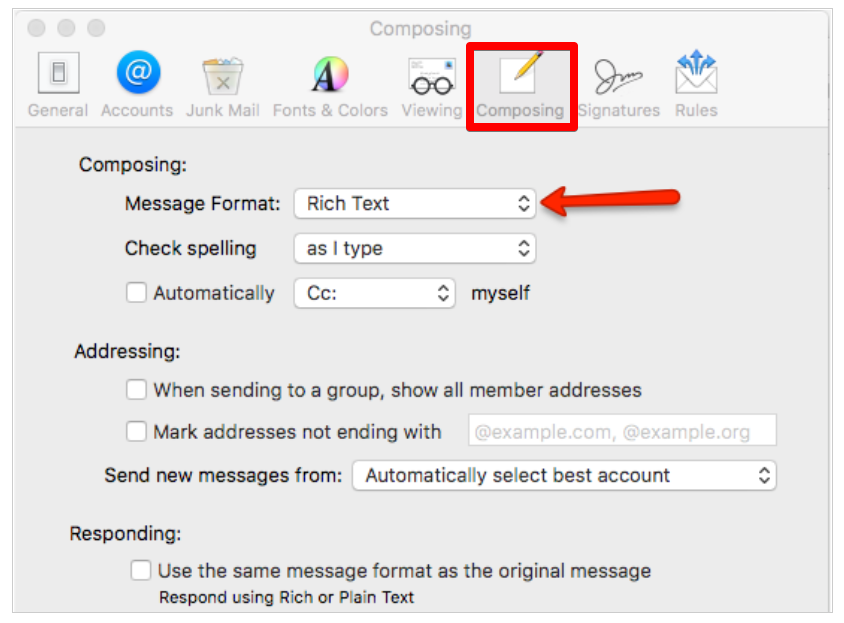
If your signature was looking alright yesterday, and there are no links or images today, it could be that your plain text setting is activated in your emails:
Check your Composing settings to make sure the Rich Text option is selected.
Please also check if your Mac Mail allows remote loading of images and content (images included in your signature stored on our secure server) by doing the following:
For macOS Big Sur and earlier, go to Mail > Preferences > Viewing > check Load remote content in messages. This will make sure all images load in your emails.

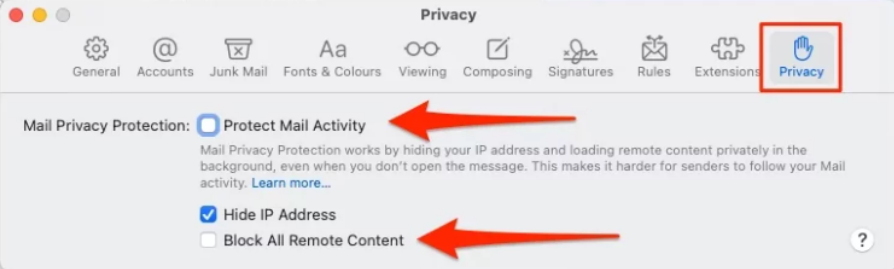
For macOS Monterey and newer, go to Mail > Preferences > Privacy > uncheck Protect Mail Activity box and Block All Remote Content.